Few domestic annoyances rival the sharp disappointment of unboxing your carefully stored festive decor, only to face a stubborn strand that remains hopelessly dark despite your best preparatory efforts. Instead of resigning yourself to purchasing costly replacements, we examine the systematic approach required to effectively troubleshoot christmas lights and restore the warm, inviting glow of your holiday display. From diagnosing hidden fuse failures to identifying the single bulb disrupting the entire circuit, this manual equips you with the professional insight needed to successfully salvage your incandescent or LED strings before the season truly begins.
Start With the Basics: Power, Plugs, and Fuses
First Things First: Check Your Power and Connections
Sometimes the fix is embarrassingly simple when you troubleshoot christmas lights. Look at the wall outlet before you panic. Is the string actually plugged in all the way?
Circuit breakers and GFCI outlets trip more than you think. Press the reset button on the outlet itself to restore power. Grab a phone charger or lamp. Plug it in to confirm the juice is flowing.
If the outlet works fine, the problem lies within the lights themselves.
The Hidden Culprit: Inspecting and Replacing Fuses
A blown fuse is the usual suspect when a whole strand goes dark. These tiny fuses are a protection mechanism against dangerous electrical overloads. You will find them hiding inside the male plug.
Slide the little access door open, often needing a small flathead screwdriver. Most sets come with spares in a tiny bag. It is a quick fix.
We recommend following this precise sequence to swap them out safely. You need steady hands for this part. Here are the steps to restore the glow.
- Carefully slide open the cover on the plug.
- Use a small screwdriver to gently pry out the two small fuses.
- Hold each fuse up to the light; a good fuse has an unbroken wire inside, a blown one will have a gap or a dark smudge.
- Replace any blown fuses with new ones of the exact same amperage (typically 3-amp for 100-light strings).
Tackling the Bulb Problem: Incandescent vs. LED
Once you rule out fuses, the culprit is usually a faulty bulb, though the fix depends entirely on your light type.
Understanding the Series-Wired Curse and Cascading Failures
Old-school sets are tricky. To troubleshoot christmas lights, remember they rely on series wiring. If just one bulb dies, the electrical path breaks, killing the whole string.
Manufacturers added a shunt—a tiny wire inside the bulb—to bypass burnt filaments automatically. However, if this little backup fails, the entire section stays dark.
LEDs avoid this headache. A dead unit rarely kills the strand, highlighting the difference between incandescent and LED wiring.
Finding the Faulty Bulb: Tighten, Inspect, and Replace
Start simple before panicking. Go through the dead section and firmly push every single light back into its socket.
If that fails, inspect the strand visually. Scan for blackened glass or missing bulbs. Remove suspicious units and check the base; ensure those tiny copper wires aren’t twisted or missing.
We broke down the symptoms below to save you frustration. Use this quick reference to identify the root cause rather than guessing blindly.
| Symptom | Likely Cause (Incandescent) | Likely Cause (LED) |
|---|---|---|
| Entire string is out | Blown fuse or plug issue | Blown fuse or plug issue |
| One section is out | One bad bulb with a failed shunt, or a loose bulb | Loose bulb, corroded socket, or wiring issue in that section |
| One single light is out | Not possible (unless it’s the only bad bulb) | The single LED bulb is dead |
Tools and Techniques for Stubborn Strings
If a visual check fails, it’s time to bring out the big guns. Luckily, a few specific tools and techniques can save you hours of frustration.
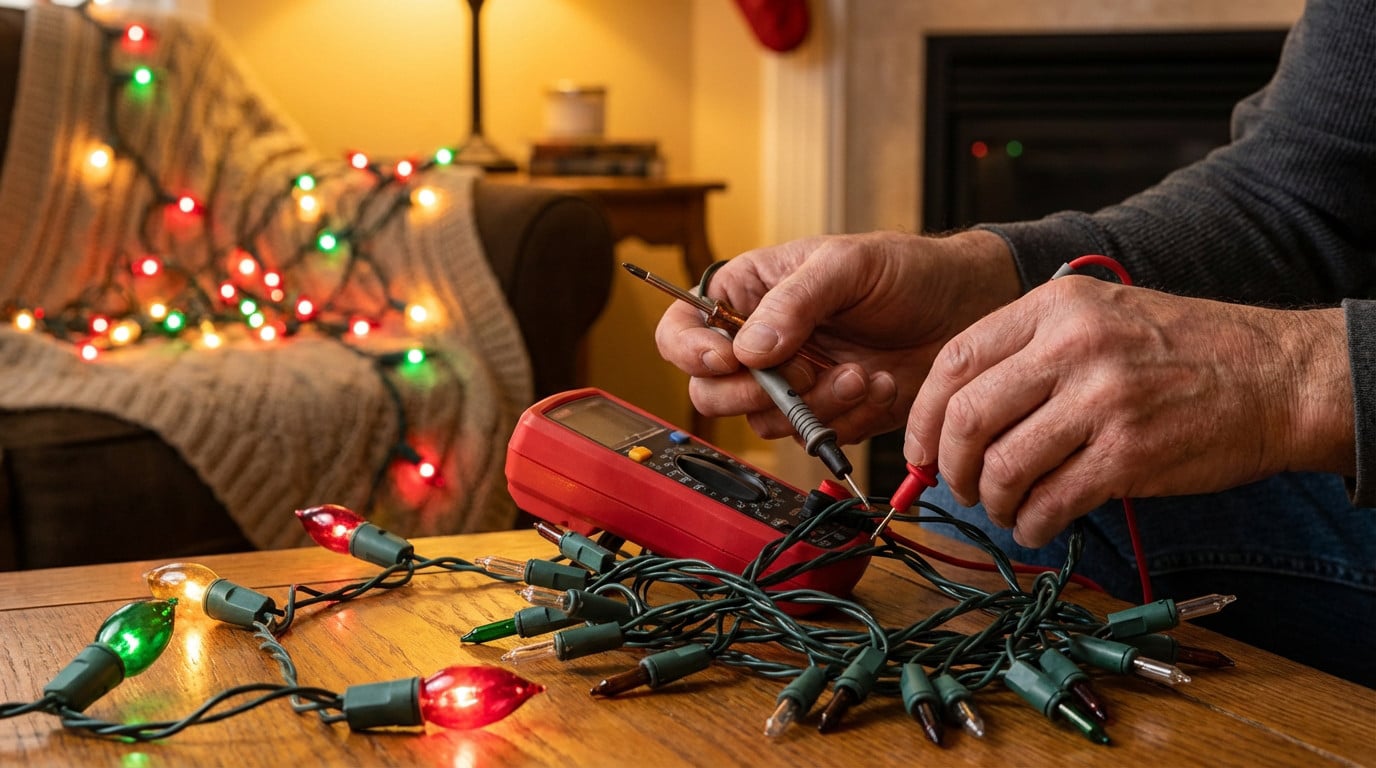
Using a Light Tester to Pinpoint the Problem
Investing in a dedicated repair gun is often a smart move. These tools serve a dual purpose to help you troubleshoot christmas lights efficiently. They act as non-contact voltage detectors to find exactly where the current stops. Plus, they test individual bulbs instantly.
Simply run the detector along the wire until the beeping stops. The problem lies right before that silent spot. It’s basically a metal detector for electrical faults.
Some models can even repair a defective shunt. They send a pulse to snap it back.
No Tester? No Problem: Manual Methods and Cleaning
You don’t need fancy gear; the “Leapfrog” technique works wonders too. This manual method allows you to isolate the defective section without tools. It just requires a bit of patience.
Here is the most effective way to handle the swap. You simply use a process of elimination. Follow these steps to locate the failure.
- Take a known good bulb from a working section of the string.
- Swap this good bulb with the first bulb.
- If the section lights up, you’ve found your bad bulb; if not, put the original bulb back and move your good bulb to the next socket.
- Repeat this process until the section lights up.
Sometimes, the culprit is actually nasty corrosion inside the sockets. Unplug the string immediately to stay safe. Gently scrape the dirty contacts with a small file or a wire brush.
When to Give Up and How to Prepare for Next Year
Sometimes, a light string is simply trash. Knowing when to throw in the towel is just as important as fixing it.
Knowing When a String Is Beyond Repair
Check the insulation for any frayed or damaged wires. If you see exposed copper or multiple broken sockets, trash the set immediately. Safety outweighs saving a few dollars.
Never cut bad sections to twist wires back together. This DIY fix creates a massive danger of fire. It is not worth the risk.
If you can’t troubleshoot christmas lights, buy new ones. Much like you’d follow a buying a used car checklist to avoid a lemon, know the warning signs for faulty lights.
Smart Storage for a Frustration-Free Future
Most failures come from careless storage. A little effort now prevents headaches next winter.
Here is the drill to keep your gear working:
- Store them properly: Wrap lights around cardboard or a reel to prevent tangles.
- Label everything: Tag faulty strings immediately so you don’t waste time next year.
- Keep spare parts: Tape extra bulbs and fuses directly to the plug.
- Don’t mix types: Never connect incandescent and LED strings on the same circuit.
These habits save money. You don’t need fancy gear; you can even find creative hacks for storage around the house.
Restoring your festive display brings a distinct sense of accomplishment while preserving the holiday magic. By patiently troubleshooting connections and adopting smart storage habits, we ensure our decorations remain vibrant for seasons to come. Ultimately, a little maintenance today guarantees a brighter, frustration-free celebration next year.